Add a file to the repo
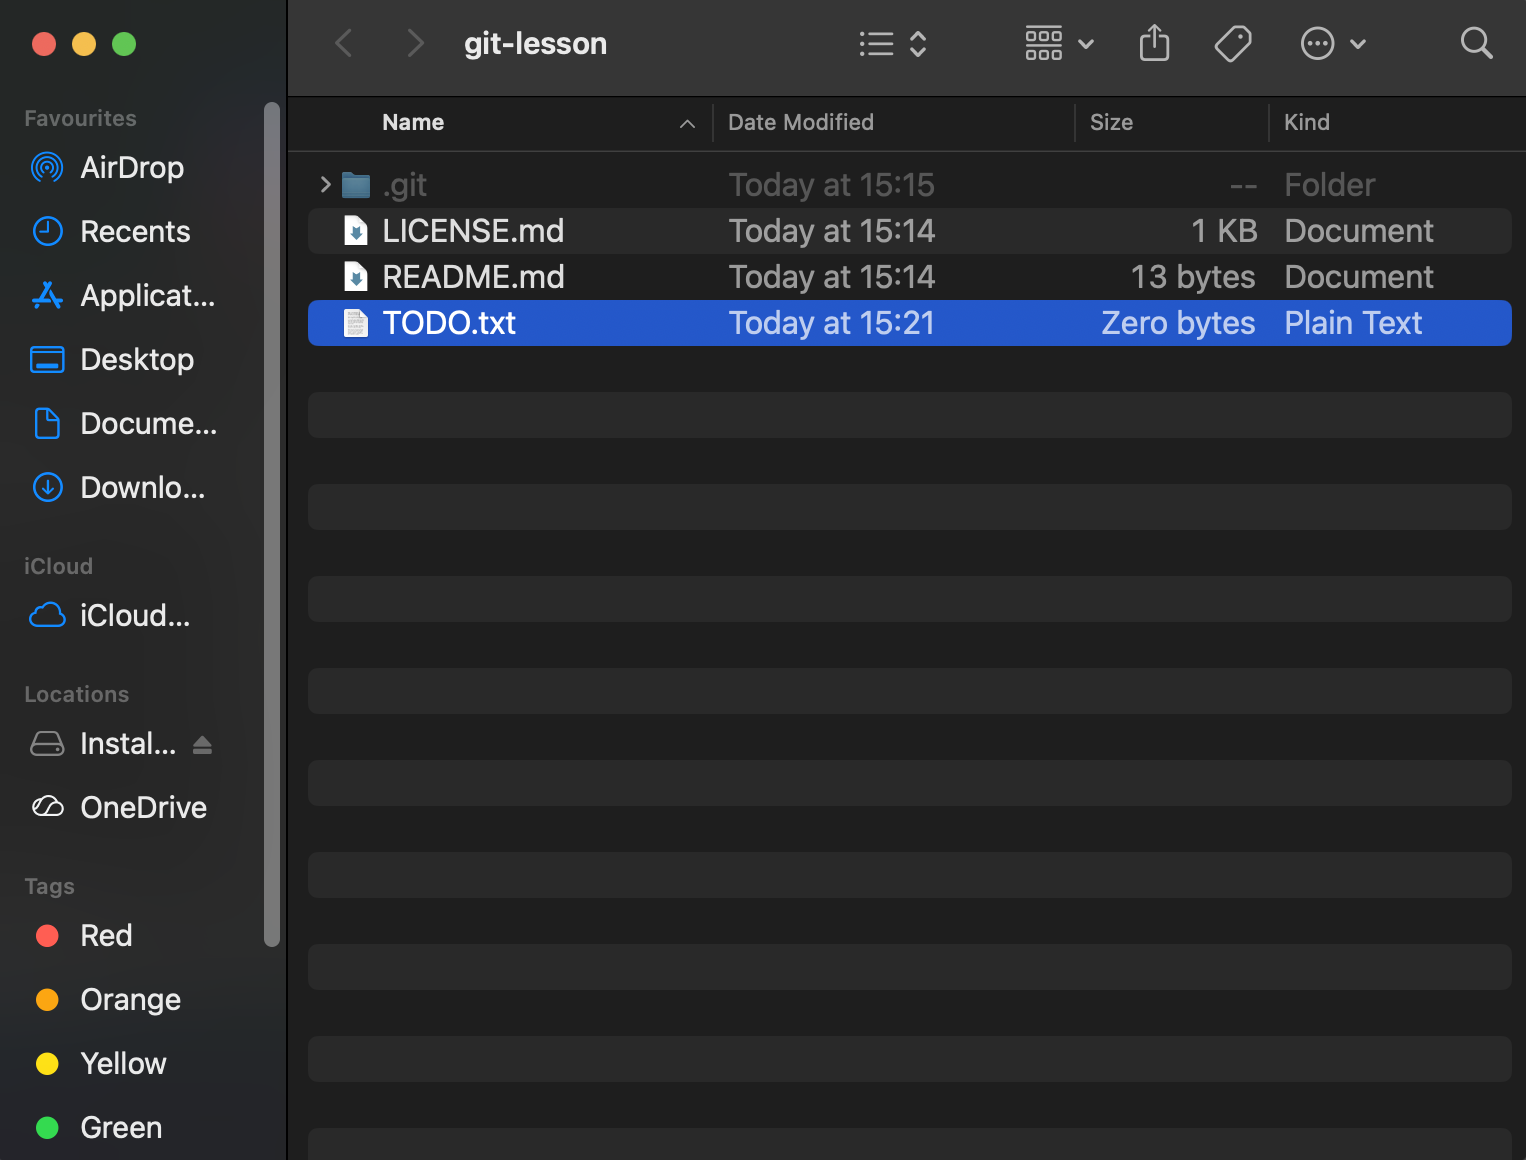
Okay! Now we need to do something with the repository. Let’s start with a basic use-case and make a single file that lists some to-do items. The repository is just a normal folder on your computer where you can create and edit files like normal.
-
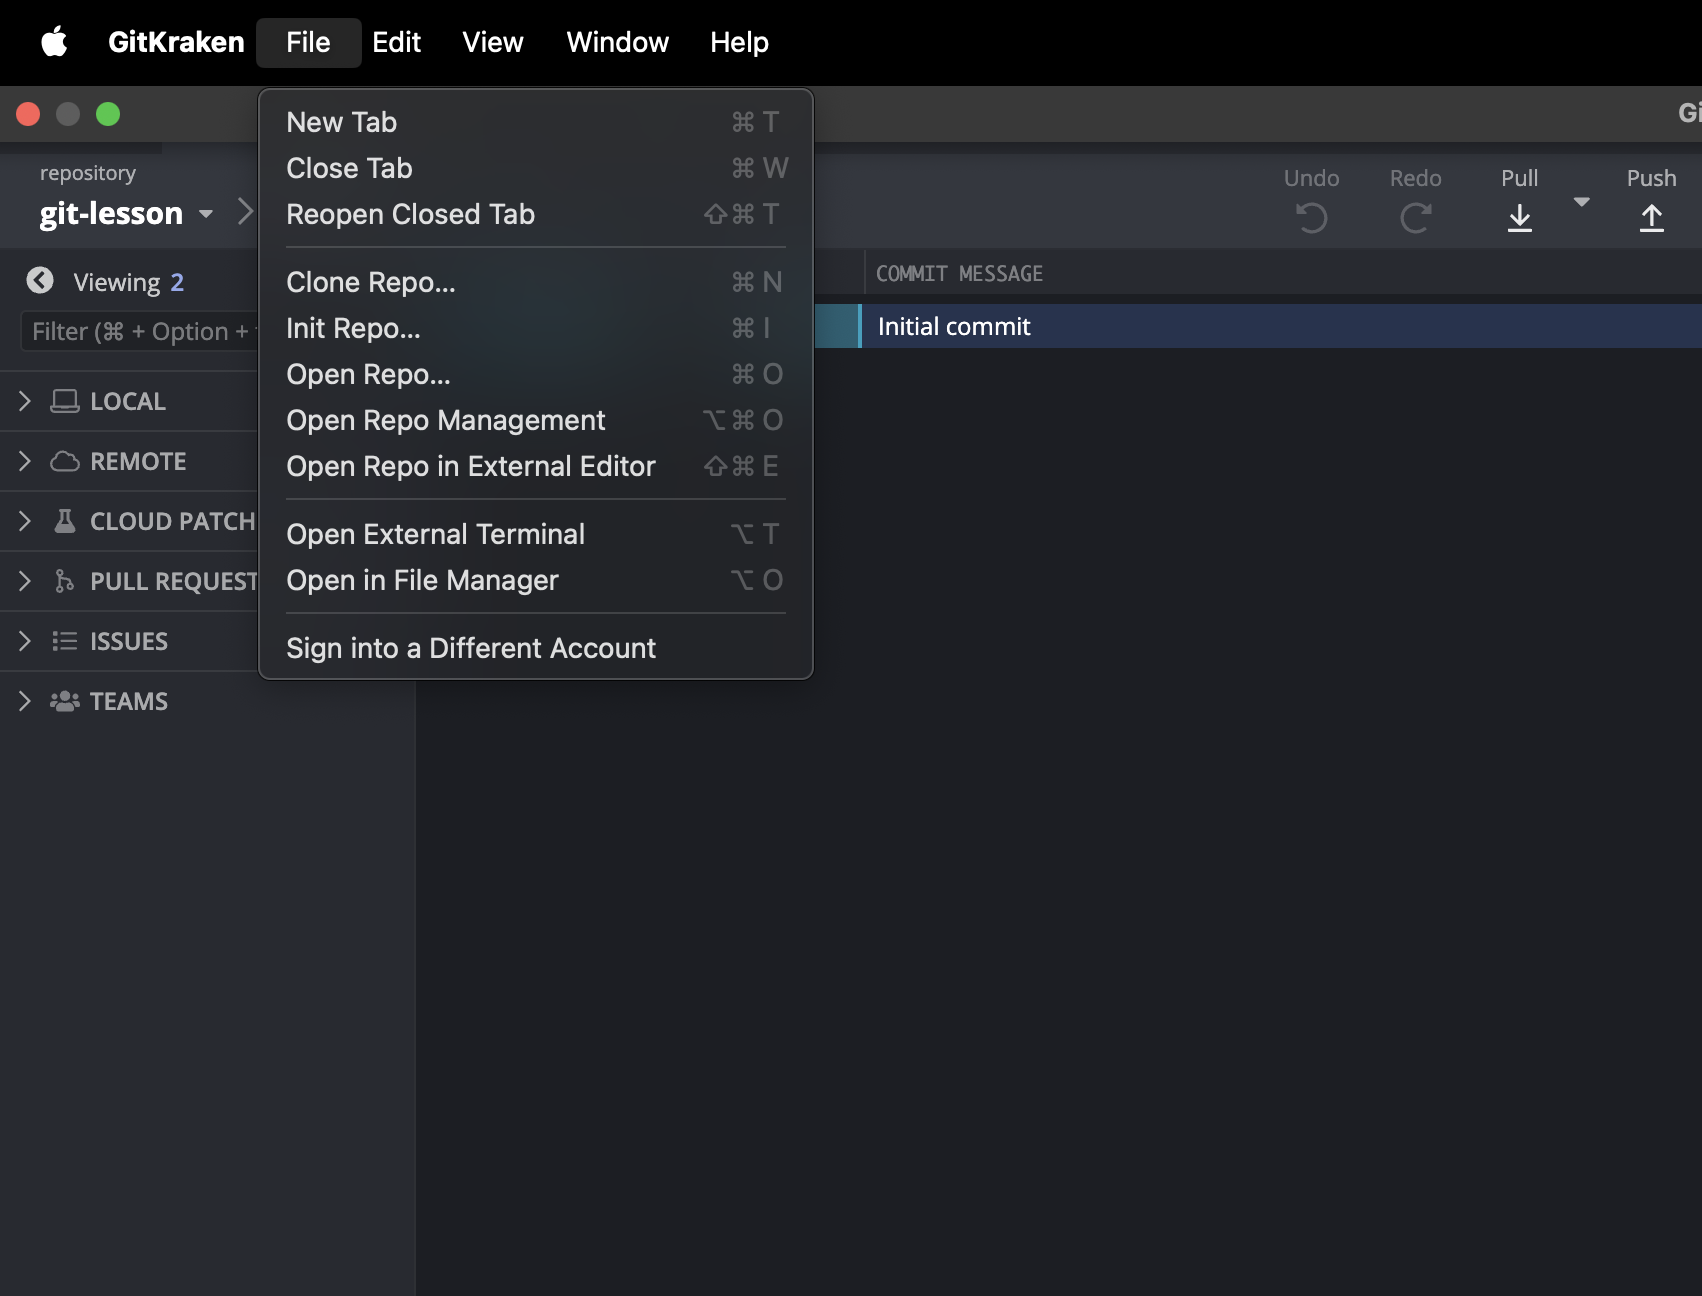
Open the folder (repo) you have just created. In GitKraken Client, you can do this by going to
File > Open in File Manager.
-
Now create a file in this folder. Open your favourite text editor and use to create a new TODO.txt file.

-
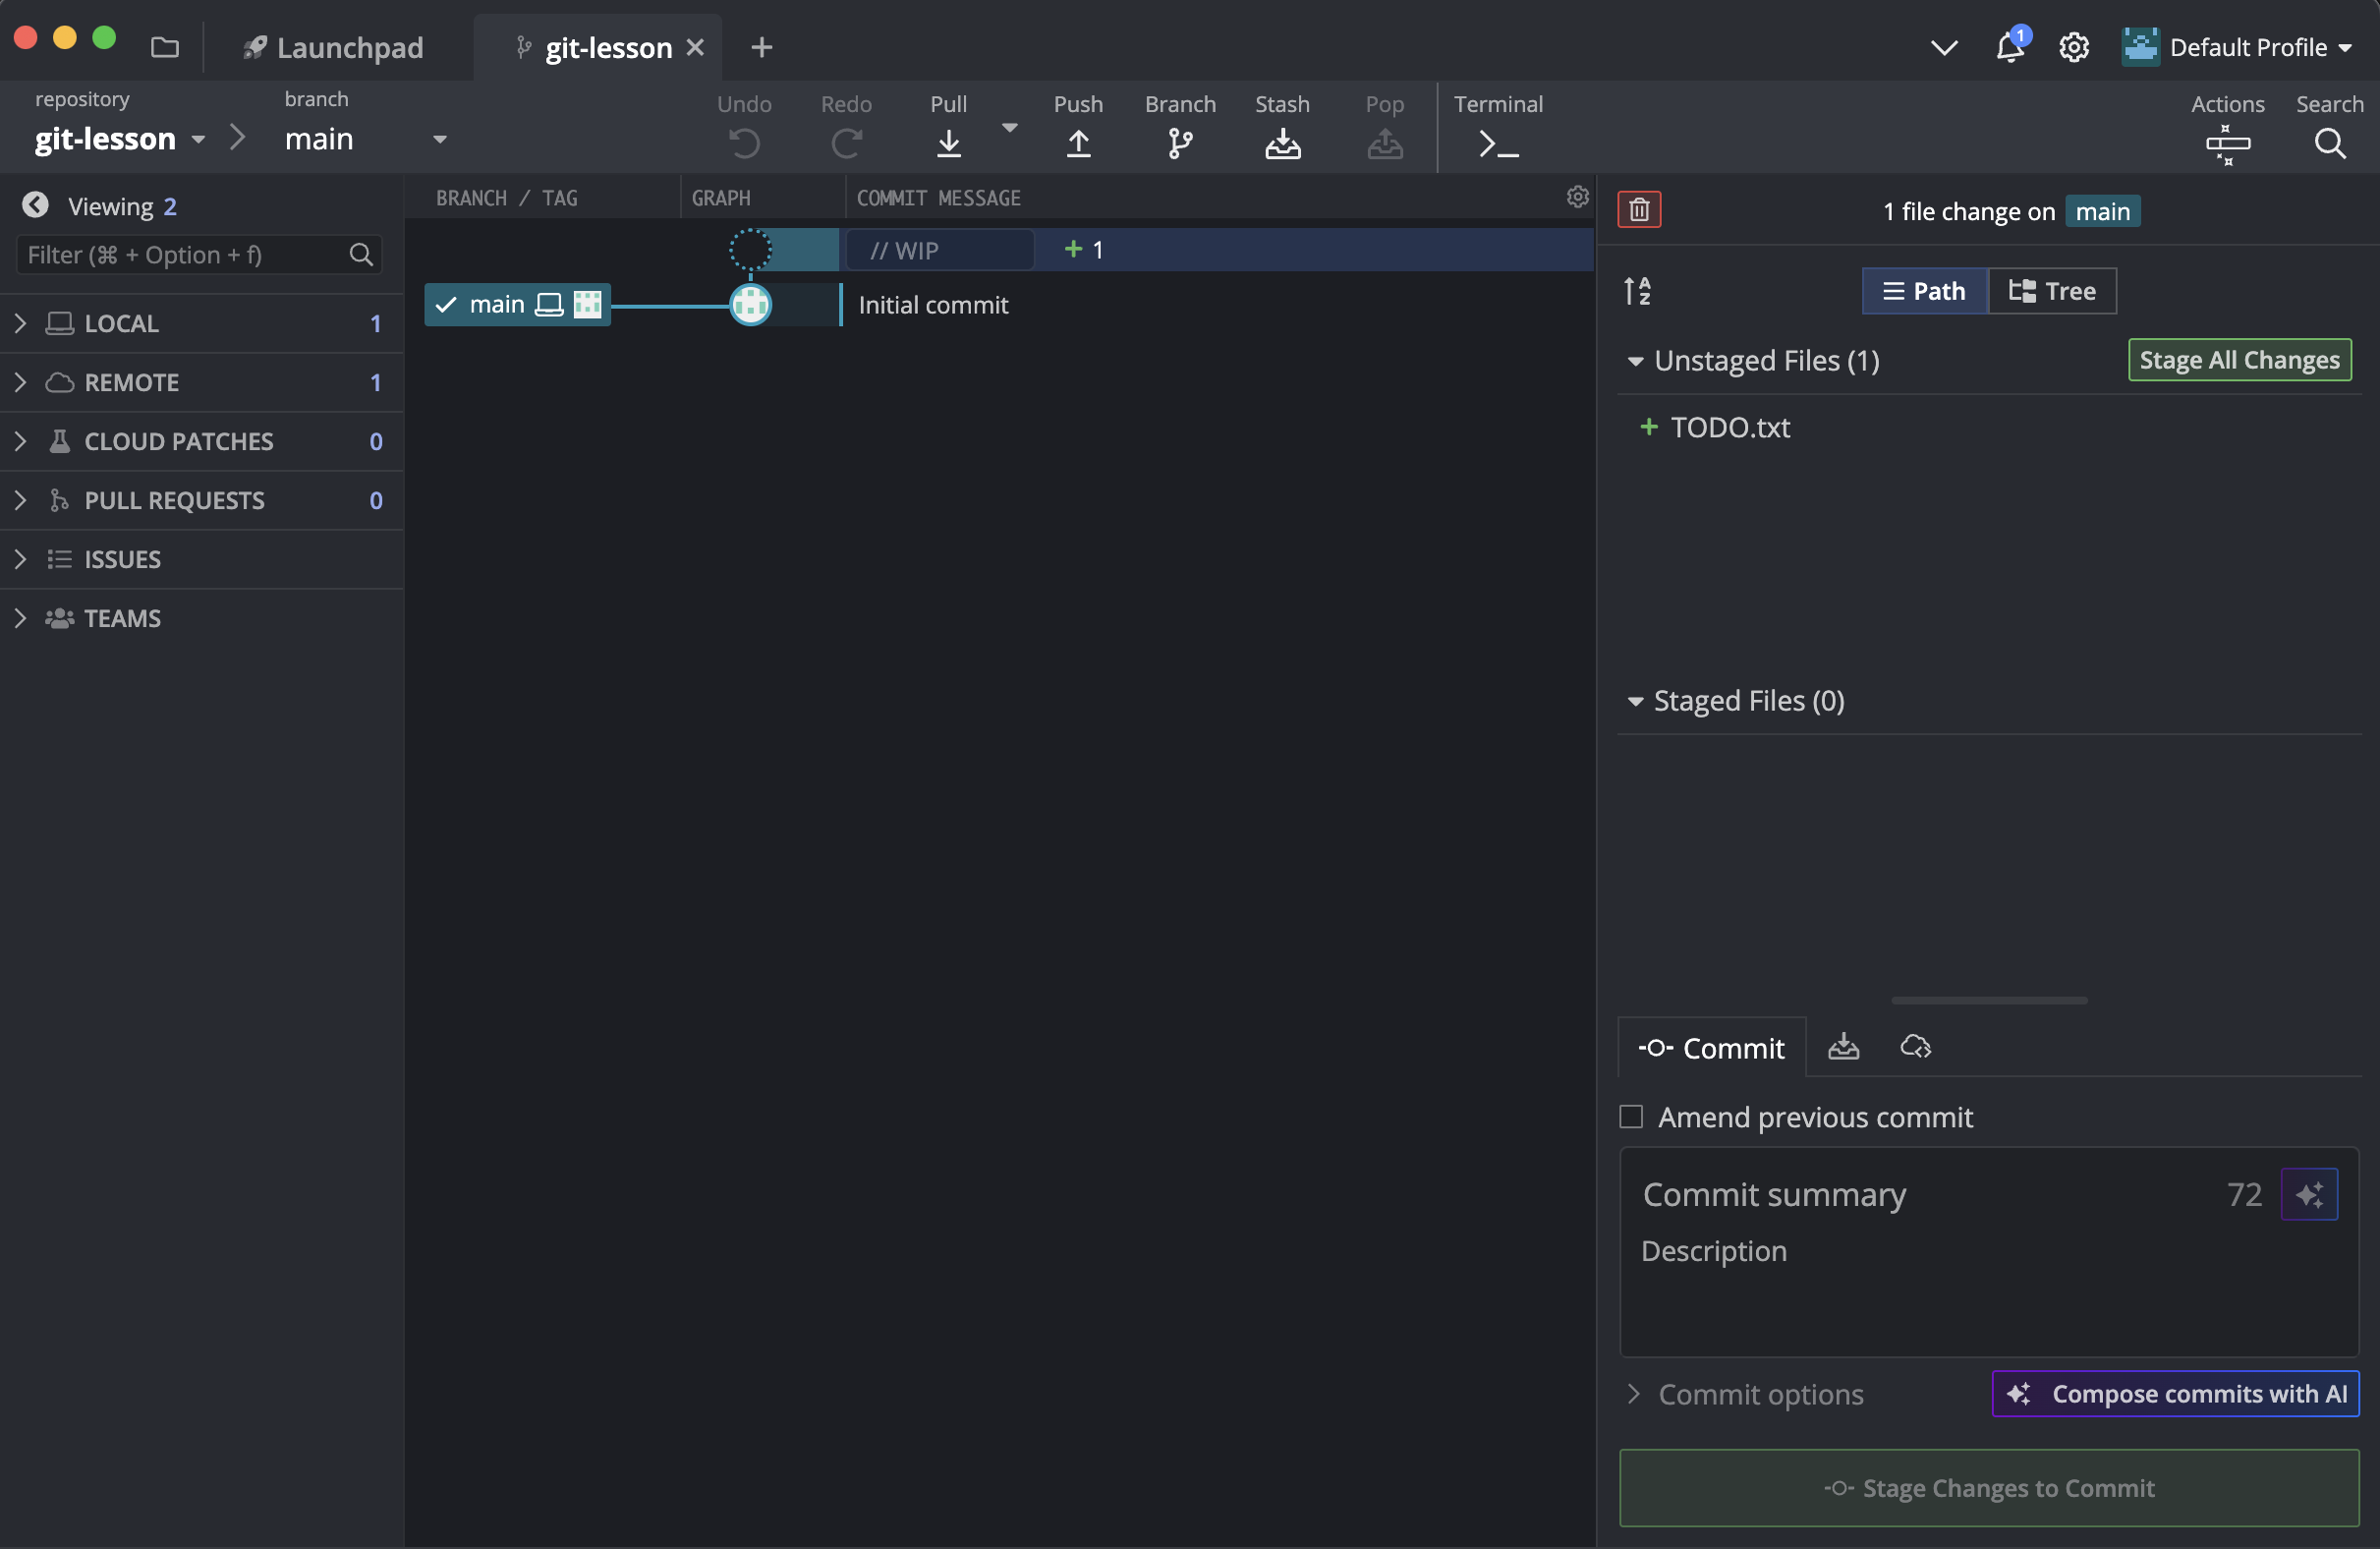
Now it’s time to commit you work. This is creating a save point you can come back to at any time. Aim to do this whenever you’ve done a small, complete chunk of work. GitKraken Client provides an easy to use interface for this job:
-
Unstaged Files: Here you have a view of all the local changes of your repository. You can also see the changes done to each file by just clicking on it. You have the option to stage all the changes or some of them. Staging is essentially a commit preparation process.
-
Staged Files: All files or folders which are selected to be committed will be moved in this area.
-
Commit Message: Commit creates a save point and every save point should have a title as well as a small description so we know what was done and why. Remember some projects last for years and many other projects will spawn in the meantime. So when we revisit an old repository or we want to go back in time to find a specific change we should be able to do that with minimum effort!
-
Commit changes to n files: Pressing this button will commit our changes to our local repository.

-
-
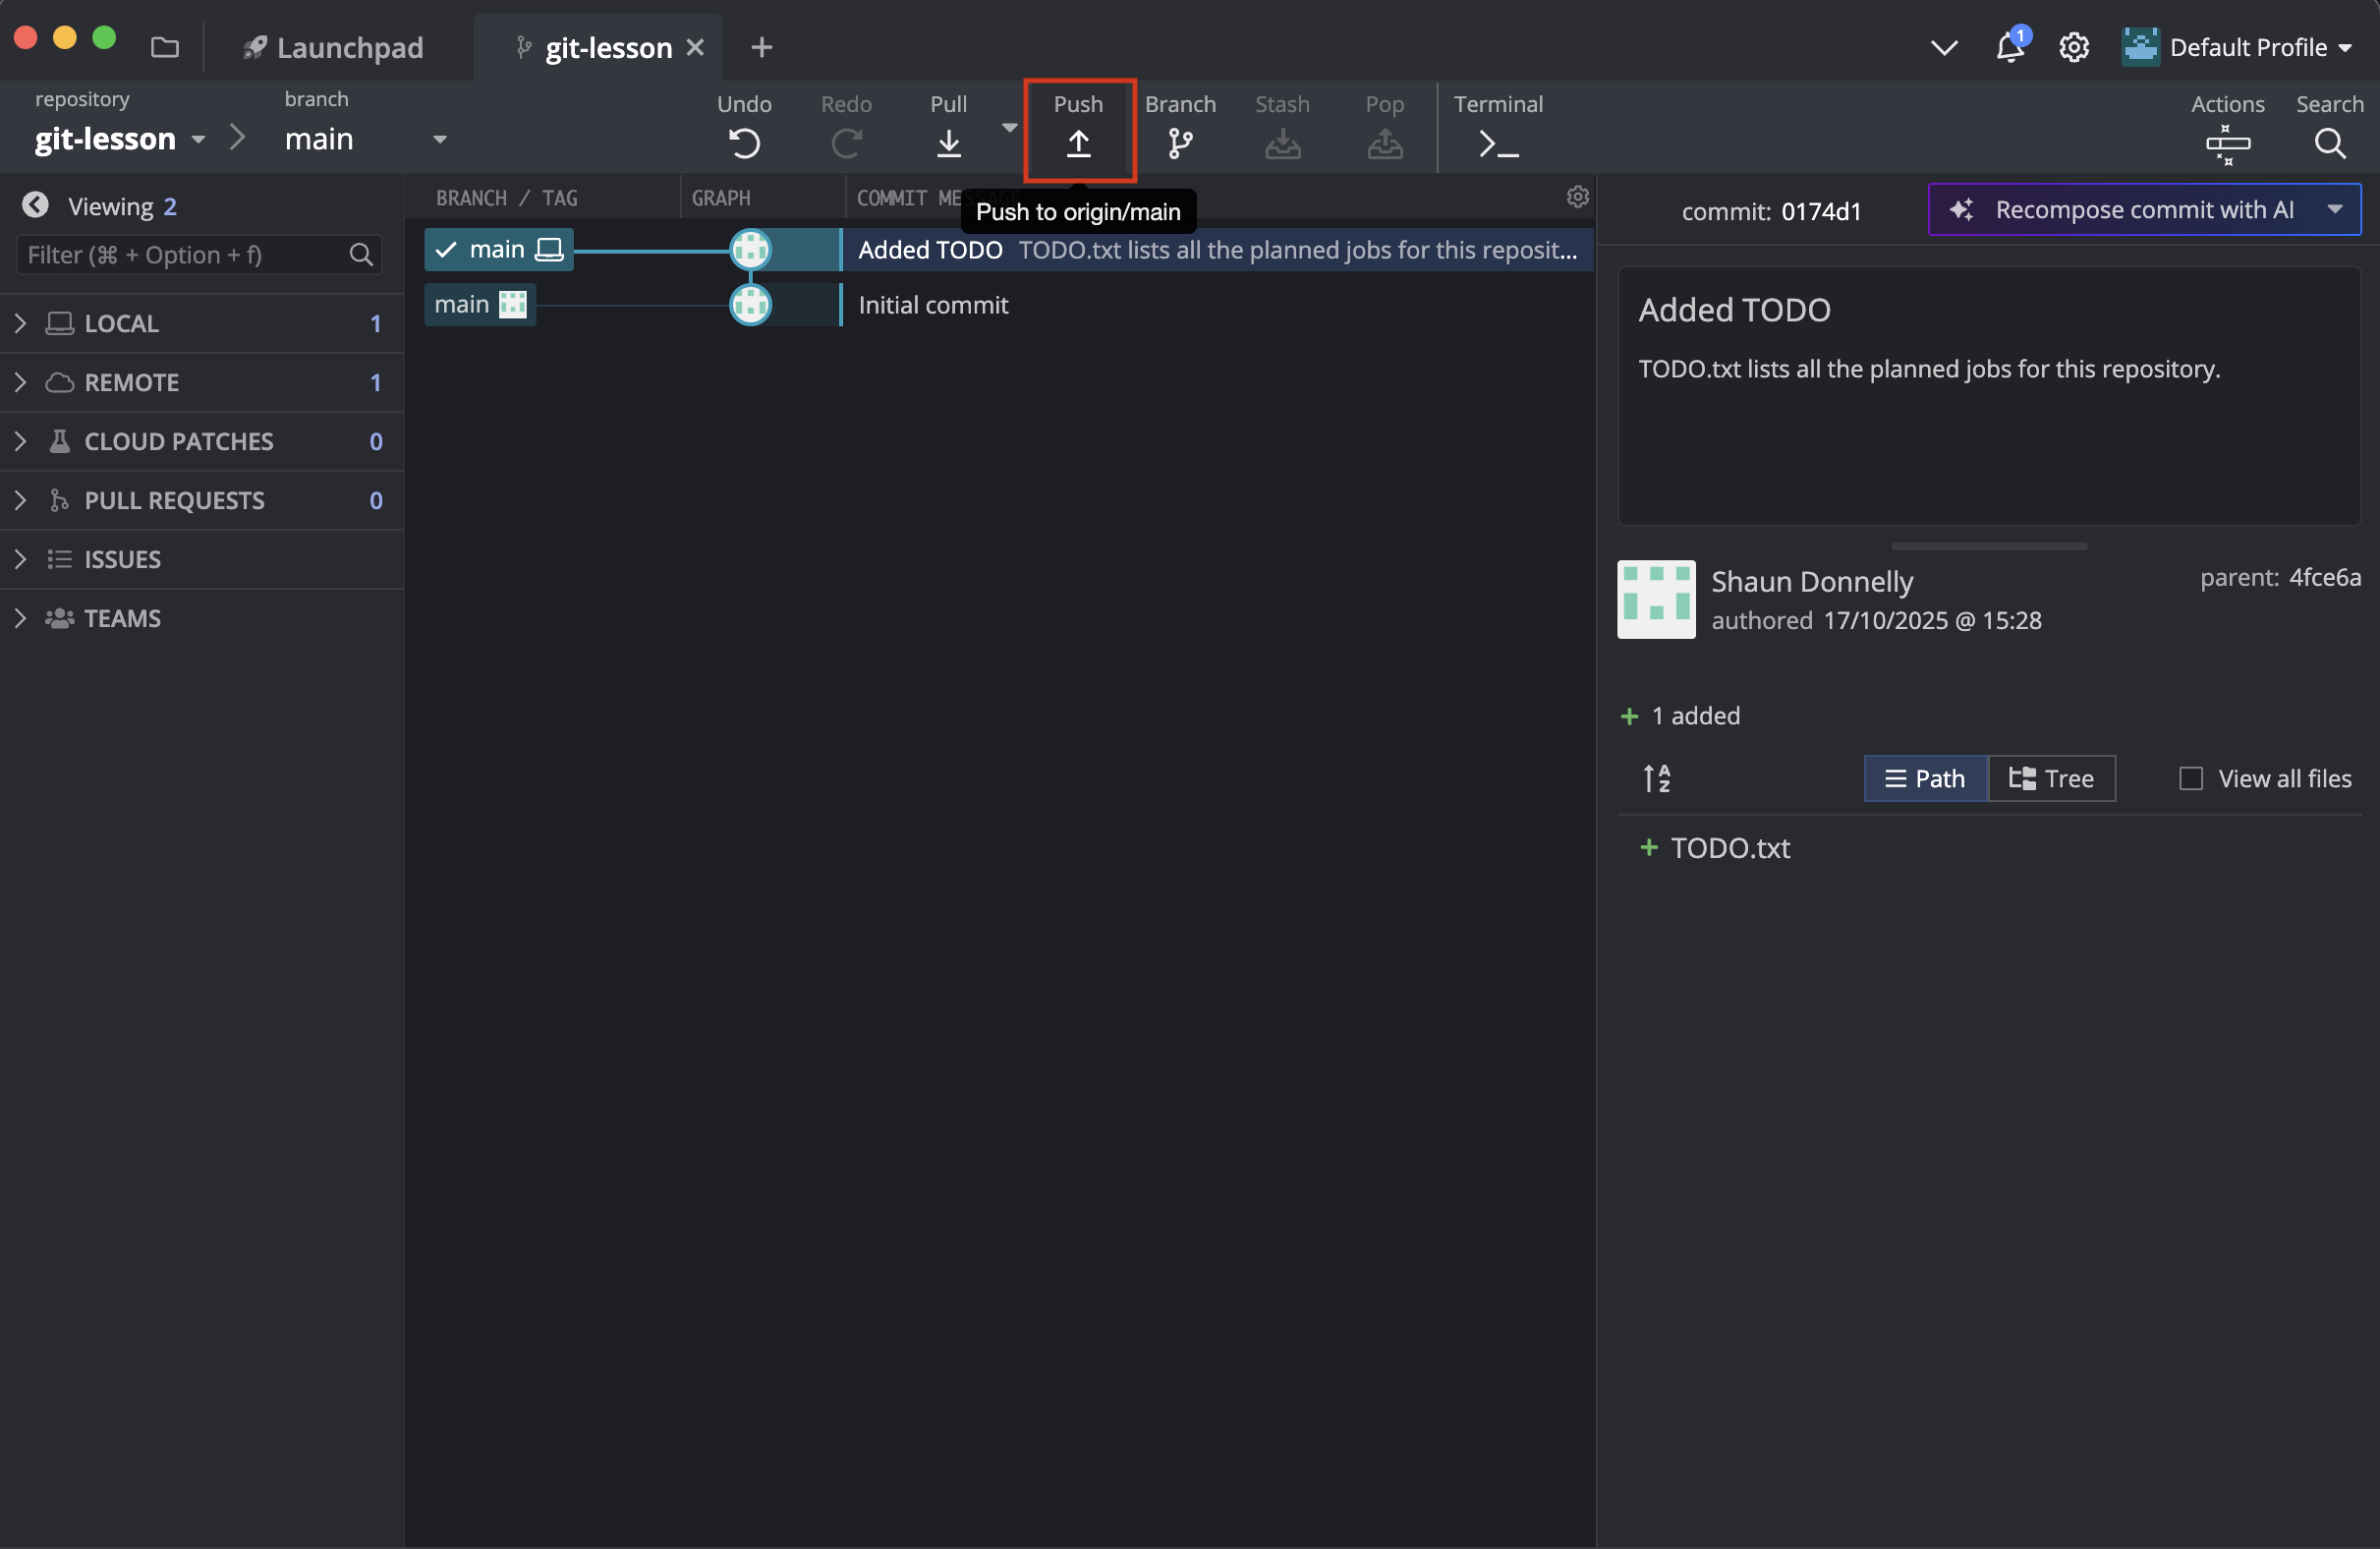
Now that we have commited our changes locally we can push them up to the remote repository. This is done by pressing the Push button on the top of GitKraken Client navigation bar.

